
Reviewed · RHODES PHOTOSHOOTS & CRAFT WORKSHOPS
Rhodes: Stained glass workshop
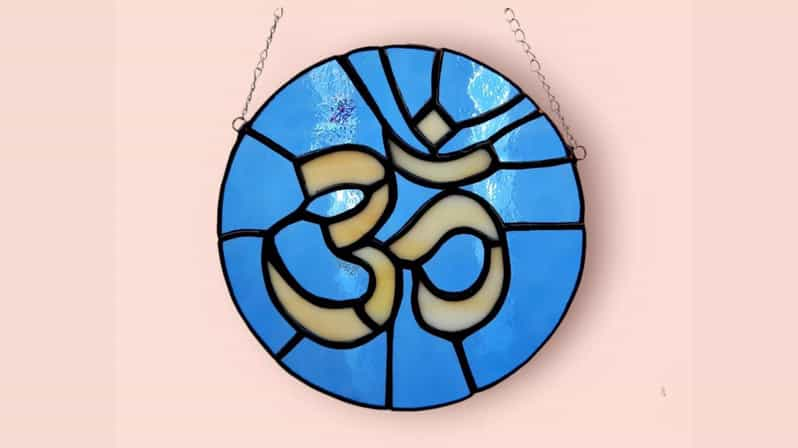
A stained glass workshop turns Rhodes into art class. You’ll make your own Tiffany-style suncatcher step by step, leaving with a finished souvenir instead of just a photo. I love the fact you’re guided through real processes, like cutting and soldering, not just handed a “crafty” demo. I also love the small-group feel, with Linda teaching in a friendly, relaxed way so beginners don’t feel lost.
The main consideration: it’s $130 per person, so it’s best if you actually want a hands-on keepsake and don’t mind spending most of a half day on making it.
In This Review
- Key Highlights You’ll Care About
- Your Own Rhodes Souvenir, Made With Real Craft Steps
- How the 4.5 Hours Flows: A Clear Process From Tools to Solder
- Tool Familiarisation: Getting Your Bearings Fast
- Cutting Glass: Practice First, Then Color
- Pattern Selection: Choose Up to 10 Pieces (Size Matters)
- Choosing Your Opal Glass Colors
- Opal Cutting: Matching Every Design Piece
- Grinding Edges: The Moment It Starts Looking Professional
- Copper Tape and Soldering: Putting the Design Together
- Why the Two-Student Limit Changes Everything
- Price and Value: $130 for a Finished Stained Glass Piece
- Practical Tips So Your Hands Don’t Suffer
- Who Should Book This Workshop (and Who Should Skip It)
- Should You Book Rhodes Stained Glass Workshop?
- FAQ
- Where is the workshop meeting point in Rhodes?
- How long does the stained glass workshop take?
- How much does it cost?
- Is this a hands-on workshop or just watching?
- What language is the instructor?
- What size is the final stained glass piece?
- What should I wear to the workshop?
- What’s included in the price?
- Is it suitable for children?
- Is the workshop accessible for wheelchair users?
- Can I cancel for a refund?
- Are there times to choose from?
- Is it possible to reserve without paying right away?
Key Highlights You’ll Care About
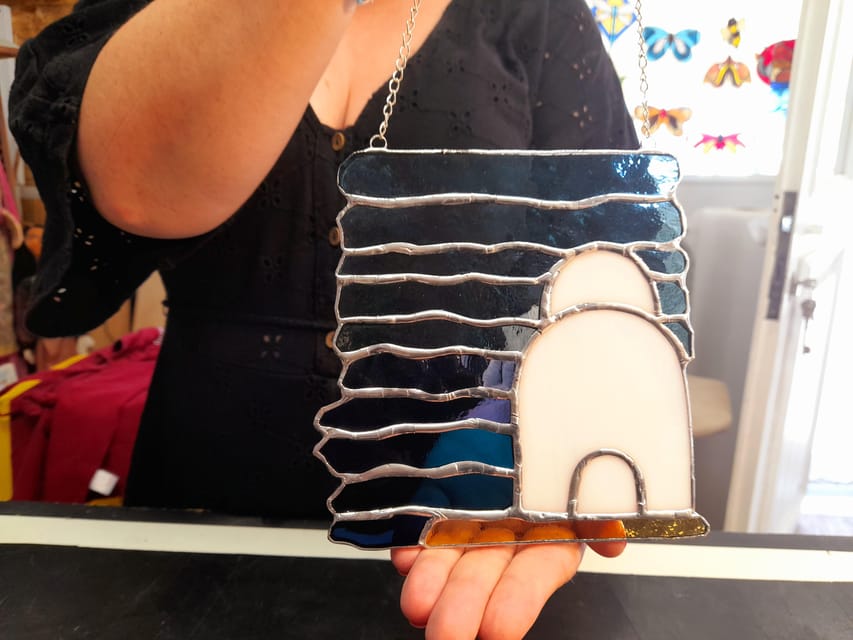
- Small group (2 students) means lots of personal attention while you work the glass
- Your own stained glass suncatcher made with a clear process from cutting to copper tape to soldering
- Patterns + color “opal” glass choice give you real creative control, even as a beginner
- 15 cm max size keeps the project manageable in one workshop day
- All materials and safety gear included, plus tea, coffee, juices, and snacks
Take it home: more photoshoots and craft workshops
- Rhodes: E-bike Highlights Sunset or Morning Photo Tour★ 4.9 · 351 reviews
- Rhodes Town: Pomegranate Pottery Masterclass★ 5.0 · 87 reviews
- Private Vacation Photoshoot with Photographer in Rhodes★ 5.0 · 6 reviews
- Click your Dream: Photography and Filmmaking services★ 4.0 · 4 reviews
Your Own Rhodes Souvenir, Made With Real Craft Steps
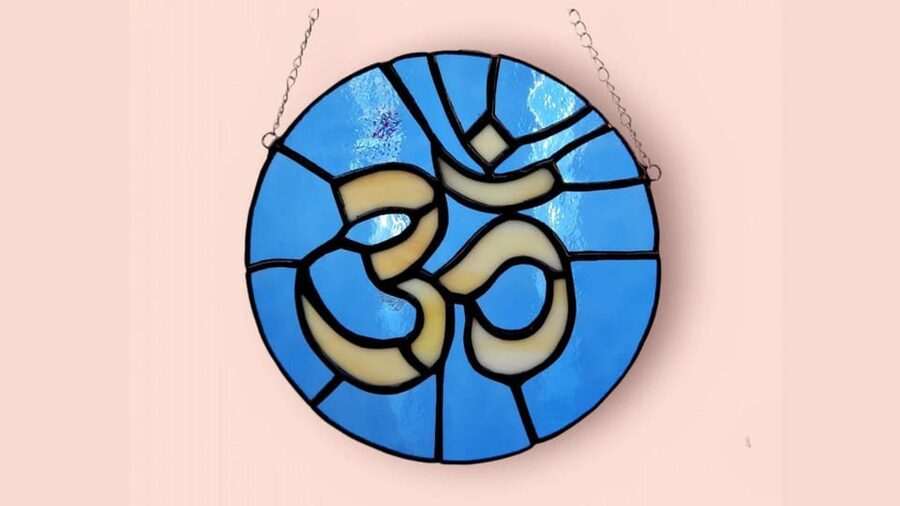
If you like the idea of bringing home something that feels personal, this workshop hits hard. Rhodes is famous for sun and sea, but this experience uses that same light theme in a different way: you’ll create a small stained glass suncatcher meant to catch and scatter daylight.
What makes it genuinely fun is how structured the day is. You don’t just sit and watch. You learn the tool basics, practice cutting, choose a design, select colored opal glass, then build the piece through the same sequence stained glass makers use. By the end, you’ll have a finished panel you can hang as a souvenir.
One more thing I really like: the class is built to work for beginners. You’ll still learn proper technique—angles, cutting styles, grinding edges—but the flow is paced so you can keep up without feeling rushed. And if you’re the kind of traveler who enjoys hands-on moments more than yet another viewpoint, you’ll probably enjoy this more than you expect.
How the 4.5 Hours Flows: A Clear Process From Tools to Solder
The workshop runs about 4.5 hours, and the order matters. You’re taught in stages, and each stage prepares you for the next one. That’s why the final piece feels doable instead of magically hard.
Here’s the practical rhythm you should expect:
- You start by getting familiar with the tools and how to use them properly.
- Then you practice cutting glass—with clear glass first—so your hands learn the motion before you touch your colored opal pieces.
- After that, you choose your pattern and pick which pieces of your design you’ll make.
- Then you select your colored opals, cut those to match your design pieces, and grind the edges smooth.
- You apply copper tape to each smoothed glass piece.
- Finally, you join everything by soldering, assembling the full design.
That end-to-end sequence is the best part for me. Even if you don’t consider yourself an art person, you’ll still walk away understanding how stained glass construction actually works.
Tool Familiarisation: Getting Your Bearings Fast
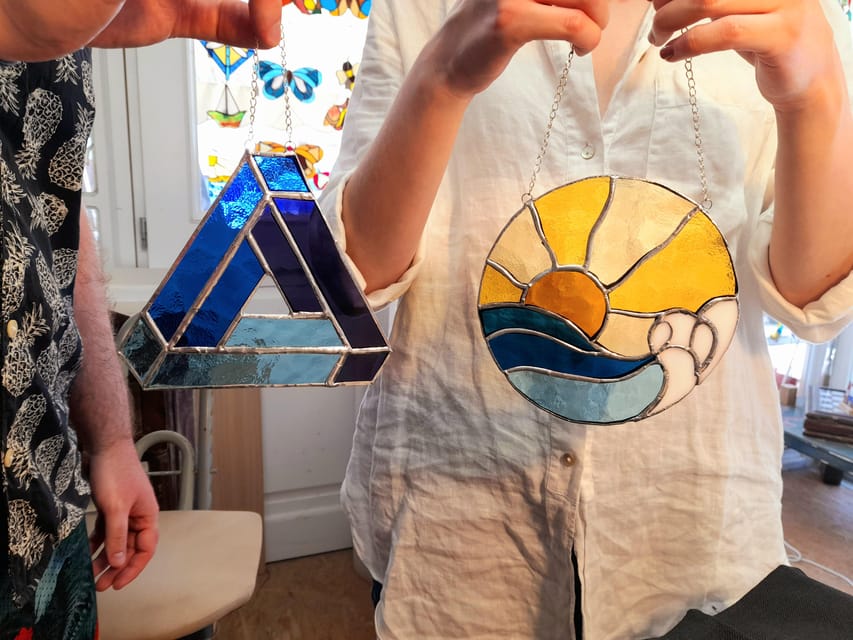
Before you cut anything, you learn how to handle the tools correctly. This is one of those unglamorous steps that actually makes the workshop better. When you know what the tool is for, the rest of the day feels calmer.
You’ll spend about 10 minutes here, which may not sound like much—but it matters. You’ll learn how to use the tools so you can focus on making good cuts rather than guessing. For beginners, this is the difference between frustration and momentum.
And because the group is limited to two students, you’re not stuck waiting your turn with a teacher who has to manage multiple people at once. That quiet attention helps you build confidence quickly.
Cutting Glass: Practice First, Then Color
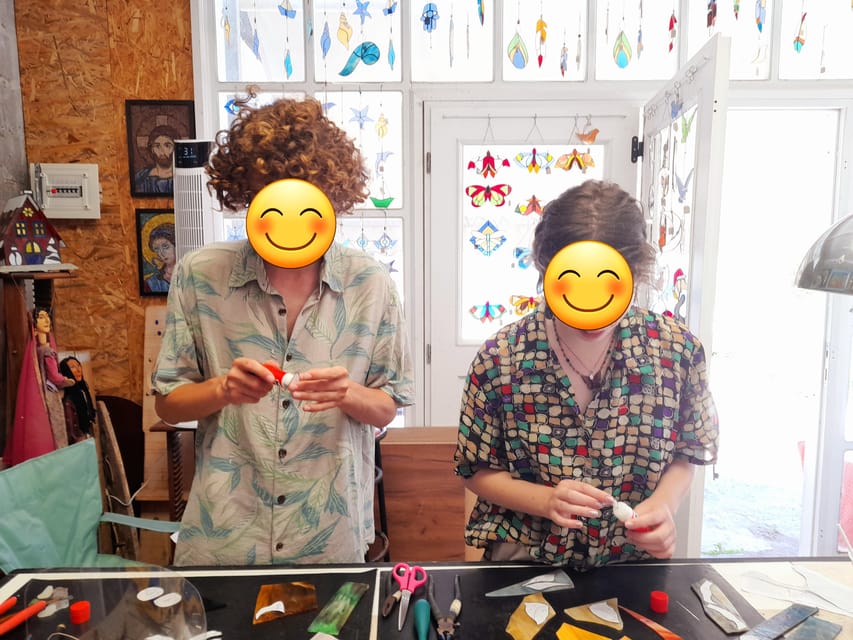
Next comes cutting—starting with clear glass so you can practice angles and cutting styles. You’ll spend around 30 minutes on this part, and the goal is simple: get enough repetition to handle the mechanics.
This matters because stained glass cutting isn’t just about scoring. Your hands learn how to guide the cutter, how to work with different angles, and how to make cuts that later fit together cleanly. The workshop uses this practice step to set you up for the next stage, where the opal colors become the star.
If you’ve ever tried a DIY craft and felt like you were “supposed” to be good immediately, this is a kinder approach. You get time to learn the motion before you commit to your colored piece.


Pattern Selection: Choose Up to 10 Pieces (Size Matters)
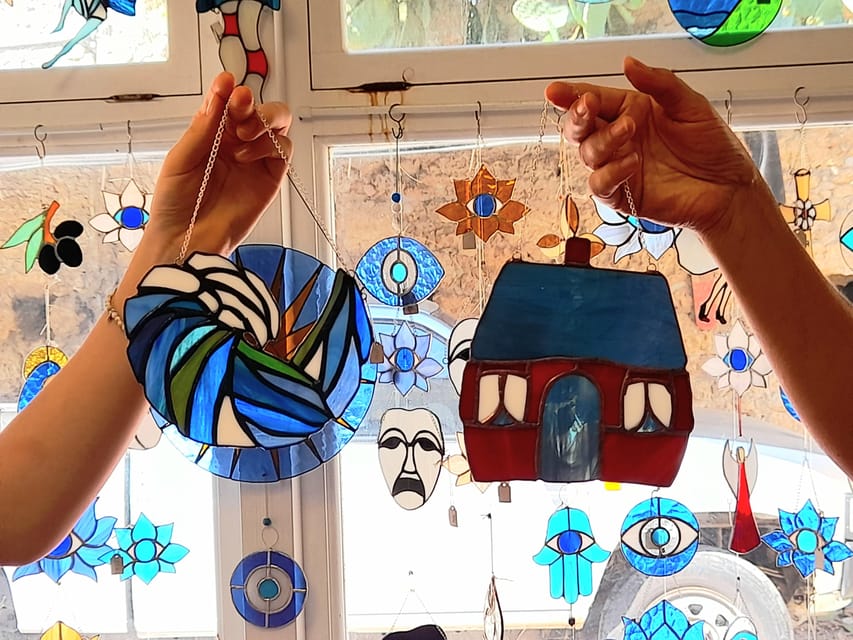
Then you pick your design. You’ll have a variety of patterns available, and they’re designed for beginners. Each option supports up to 10 pieces, and the maximum final size is 15 cm.
This is a big deal for value and expectations. A small, manageable format means you can actually finish your work in one session. You get enough complexity to feel artistic, but not so much that it turns into a multi-day project.
So if you’re thinking about this as a souvenir, this size limit is practical. You won’t be stuck trying to figure out how to store a large heavy artwork. And you won’t end up with something so tiny it feels unfinished.
Choosing Your Opal Glass Colors
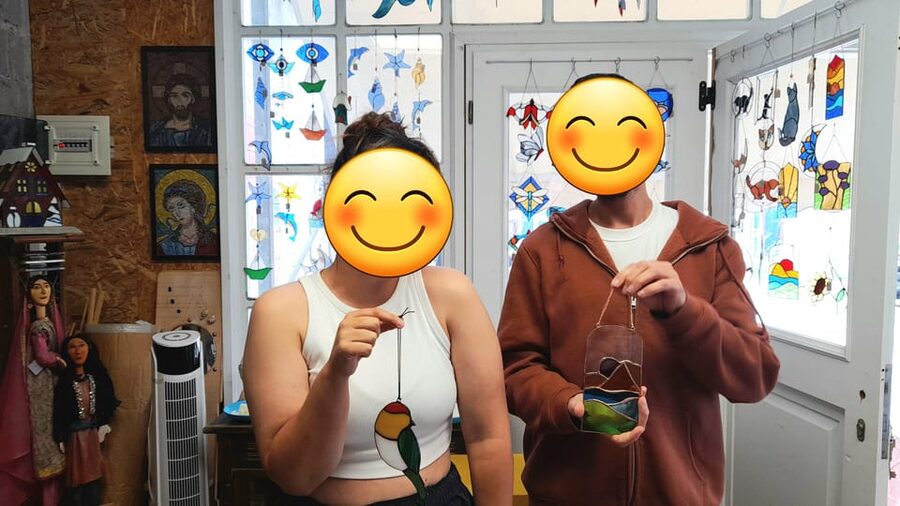
After you’ve picked your pattern, it’s time to select the colored opals. This part takes about 25 minutes, and it’s where your design starts to look like yours.
The workshop gives you a range of colored opal choices, and the way the process works is straightforward: each design piece has to be cut from the specific opal you chose for it. That creates a satisfying moment of ownership. You’re not just choosing a design—you’re assigning color to each part of that design.
If you like visual planning, you’ll enjoy this. If you’re unsure, you can take your time and compare how different colors will likely read through light.
Opal Cutting: Matching Every Design Piece
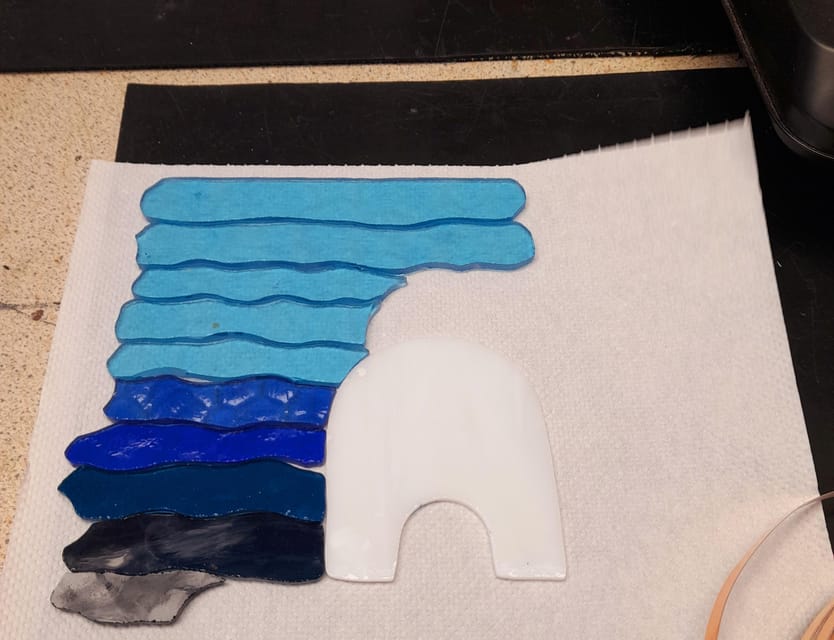
Once you’ve chosen the opals, you cut the glass to match your pattern pieces. This is where the earlier cutting practice pays off. You’ll spend about 60 minutes here.
The key detail: each design piece must be cut in the opal you selected. That requirement gives the workshop structure, but it also puts you in control. Your choices affect the final look, and your craftsmanship affects the fit.
This is also the stage where small-group teaching matters most. If something feels off—an angle, a cut line, a fit issue—you can get guidance while you still have time to adjust before the build moves on.
Grinding Edges: The Moment It Starts Looking Professional
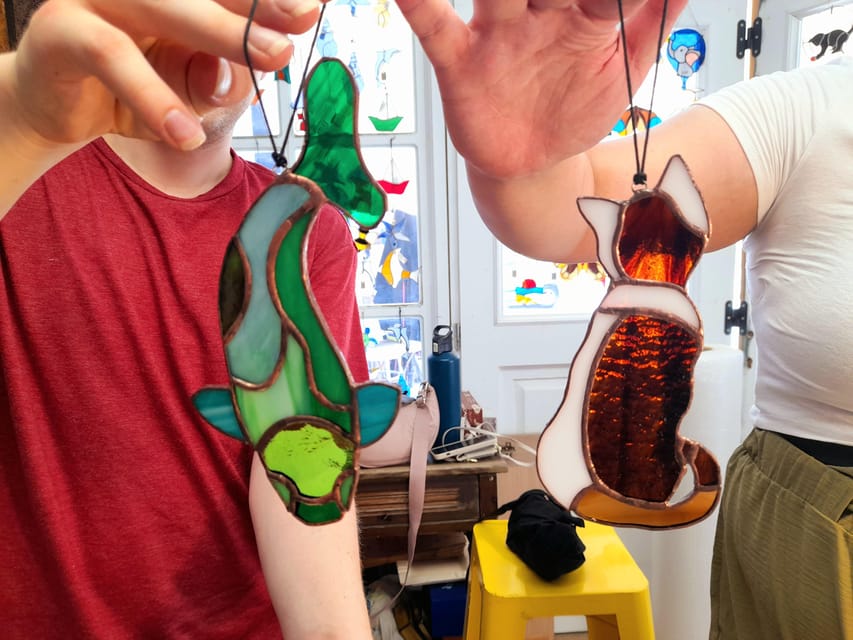
After cutting, you grind the edges until they’re smooth. This takes about 60 minutes, and it’s one of those steps you’ll be glad you did later.
Grinding isn’t glamorous, but it improves the final assembly. It helps the pieces sit more neatly, and it supports clean copper taping. If your project feels like it’s transitioning from craft to real craftwork, this is the step where you notice it.
It’s also a good mental reset. You’ve done the precision work of cutting; now you’re shaping the edges for assembly.
Copper Tape and Soldering: Putting the Design Together
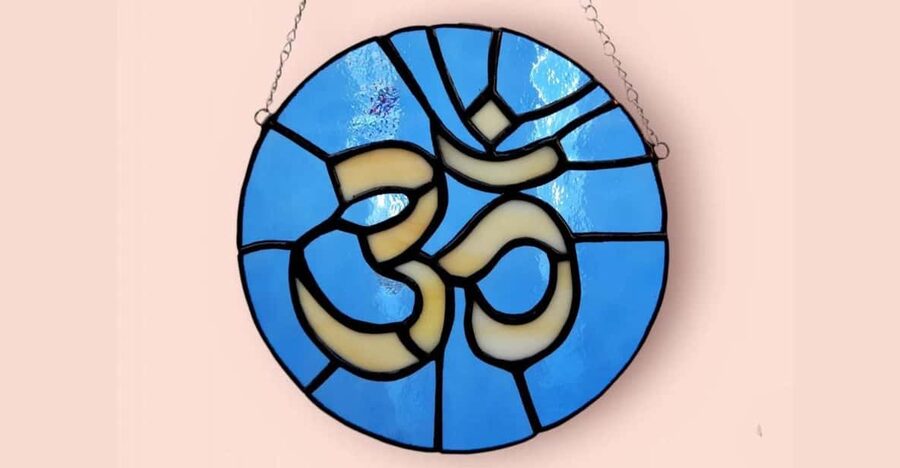
Once the pieces are smoothed, you apply copper tape to each glass section. This takes about 30 minutes.
Copper tape is what bridges individual cut pieces into one coherent design. You’re building the frame-like boundaries that stained glass relies on. You’ll then join the whole thing with soldering, which takes about 30 minutes.
Soldering is the final transformation. Before it, the pieces are separate and you’re still mostly working one chunk at a time. After soldering, the design clicks into place and looks like what you imagined when you picked the pattern and colors.
For many people, this is the moment the workshop turns into a keepsake. Not just because you made it, but because it looks like stained glass.
Why the Two-Student Limit Changes Everything
This class limits participation to two students. That’s not a throwaway detail—it’s the reason the day feels supportive.
With only two people, the teacher can:
- check your tool handling early,
- correct mistakes before they snowball,
- and keep you moving through the steps without feeling rushed.
In the feedback from people who took the class, the consistency is that the instructor makes beginners feel at ease. That vibe shows up when someone can focus on your pace instead of splitting time among a bigger group.
So if you’re the type who likes a hands-on activity but hates being “managed,” this setup is a strong match.
Price and Value: $130 for a Finished Stained Glass Piece
Let’s talk value in practical terms. At $130 per person, this isn’t the cheapest activity on Rhodes. But you’re also not doing the usual thing—paying for a lesson and leaving with nothing tangible.
You get:
- all materials and tools,
- safety gear (gloves, goggles, aprons),
- and refreshments (tea, coffee, juices, plus snacks),
- plus a finished stained glass suncatcher you take home.
You’re essentially paying for instructor time, guided craftsmanship, and the materials needed to produce a real object. If you compare it to buying a decorative stained glass souvenir, the value shift is obvious: this is yours, made during the session, and built through step-by-step technique.
If you’re on a tight schedule and only want a quick photo stop, it may feel expensive. If you want a meaningful, take-home craft that also teaches you what stained glass makers do, it often feels like a bargain.
Practical Tips So Your Hands Don’t Suffer
This workshop is hands-on, so you’ll want to dress and prepare like you’ll actually be working.
Here’s what you should bring and plan for:
- Wear closed-toe shoes. Sandals and flip-flops are not allowed.
- Expect a focused but relaxed pace. The class is structured, but it’s not a stress-factory.
- Come in ready to work with your hands for most of the half day.
Also, since the finished piece is small (up to 15 cm), you’ll want to plan for easy transport. This is a good souvenir size for packing and carrying, but you should still treat it carefully once you’ve made it.
Who Should Book This Workshop (and Who Should Skip It)
This is best for adults and teens who want a creative, hands-on experience and don’t mind learning a real technique.
It’s not suitable for:
- children under 16,
- pregnant women,
- wheelchair users,
- and people over 80.
So if mobility is limited or you’re traveling with someone in these categories, you’ll want to choose a different Rhodes activity.
For everyone else, it’s a great fit if you:
- love crafts but want real instruction,
- enjoy small-group settings,
- and want a souvenir that looks like actual art, not a disposable postcard.
Should You Book Rhodes Stained Glass Workshop?
If you want a memorable Rhodes souvenir that you actually make, I think this is an easy yes. The combination of small group size, step-by-step teaching, and a finished piece you can take home makes it feel worth your time.
Book it if you’re excited by the idea of learning stained glass basics—cutting, grinding, copper taping, and soldering—and you’re comfortable spending most of a half day focused on your hands.
Skip it if your idea of a good vacation activity is more sightseeing than making, or if $130 feels like too much for a workshop day with no backup plan.
FAQ
Where is the workshop meeting point in Rhodes?
You meet at the workshop’s sign on the side of the road, and the activity ends back at the meeting point.
How long does the stained glass workshop take?
The workshop duration is 4.5 hours.
How much does it cost?
The price is $130 per person.
Is this a hands-on workshop or just watching?
It’s a hands-on class where you learn the techniques and create your own stained glass suncatcher.
What language is the instructor?
The instructor teaches in Greek and English.
What size is the final stained glass piece?
The maximum final size is 15 cm.
What should I wear to the workshop?
Wear closed-toe shoes. Sandals and flip-flops are not allowed.
What’s included in the price?
The cost includes all materials and tools, plus safety gear (gloves, goggles, and aprons). Tea, coffee, juices, and some snacks are provided throughout.
Is it suitable for children?
It’s not suitable for children under 16.
Is the workshop accessible for wheelchair users?
It’s not suitable for wheelchair users.
Can I cancel for a refund?
Yes. You can cancel up to 24 hours in advance for a full refund.
Are there times to choose from?
Starting times depend on availability, and you’ll see options when you check.
Is it possible to reserve without paying right away?
Yes, you can reserve now and pay later.
More Rhodes Tours to Browse


More Photoshoots and Workshops



Not quite this one? A few more Rhodes trips we have written up





Rhodes Photoshoots & Craft Workshops, compared.
 ★ 4.9E-bike Highlights Sunset or Morning Photo TourFrom $46351 reviews
 ★ 5.0E-Bike Photo Stop TourFrom $47194 reviews
 ★ 5.0Mediaeval Rhodes E-bike Highlights Photo Tour Morning/SunsetFrom $47164 reviews
 ★ 5.01 Hour Private Photoshoot in RhodesFrom $205160 reviews
 ★ 5.0Rhodes Wine & Food Tour: 10 Meal Course Lunch, Wine Tasting, Cooking ClassFrom $156109 reviews
 ★ 4.9Retro eBike Highlights Tour w/ Personal PhotographerFrom $5588 reviews
 ★ 5.0Pomegranate Pottery MasterclassFrom $4787 reviews
 ★ 5.0Private Professional Photo Experience in RhodesFrom $25372 reviews
Browse the lists this tour appears in